Wedding Cake Topper and Centerpieces
This was a really fun commission. I was asked if I could make a wedding cake topper featuring chibi versions of the bride and groom along with their doggo. They also wanted clear versions of the topper that could be used for table centerpieces. I jumped at the chance.
Took a few months to get the 3D sculpts just right and some more finishing time with the printed pieces, but they turned out really well!
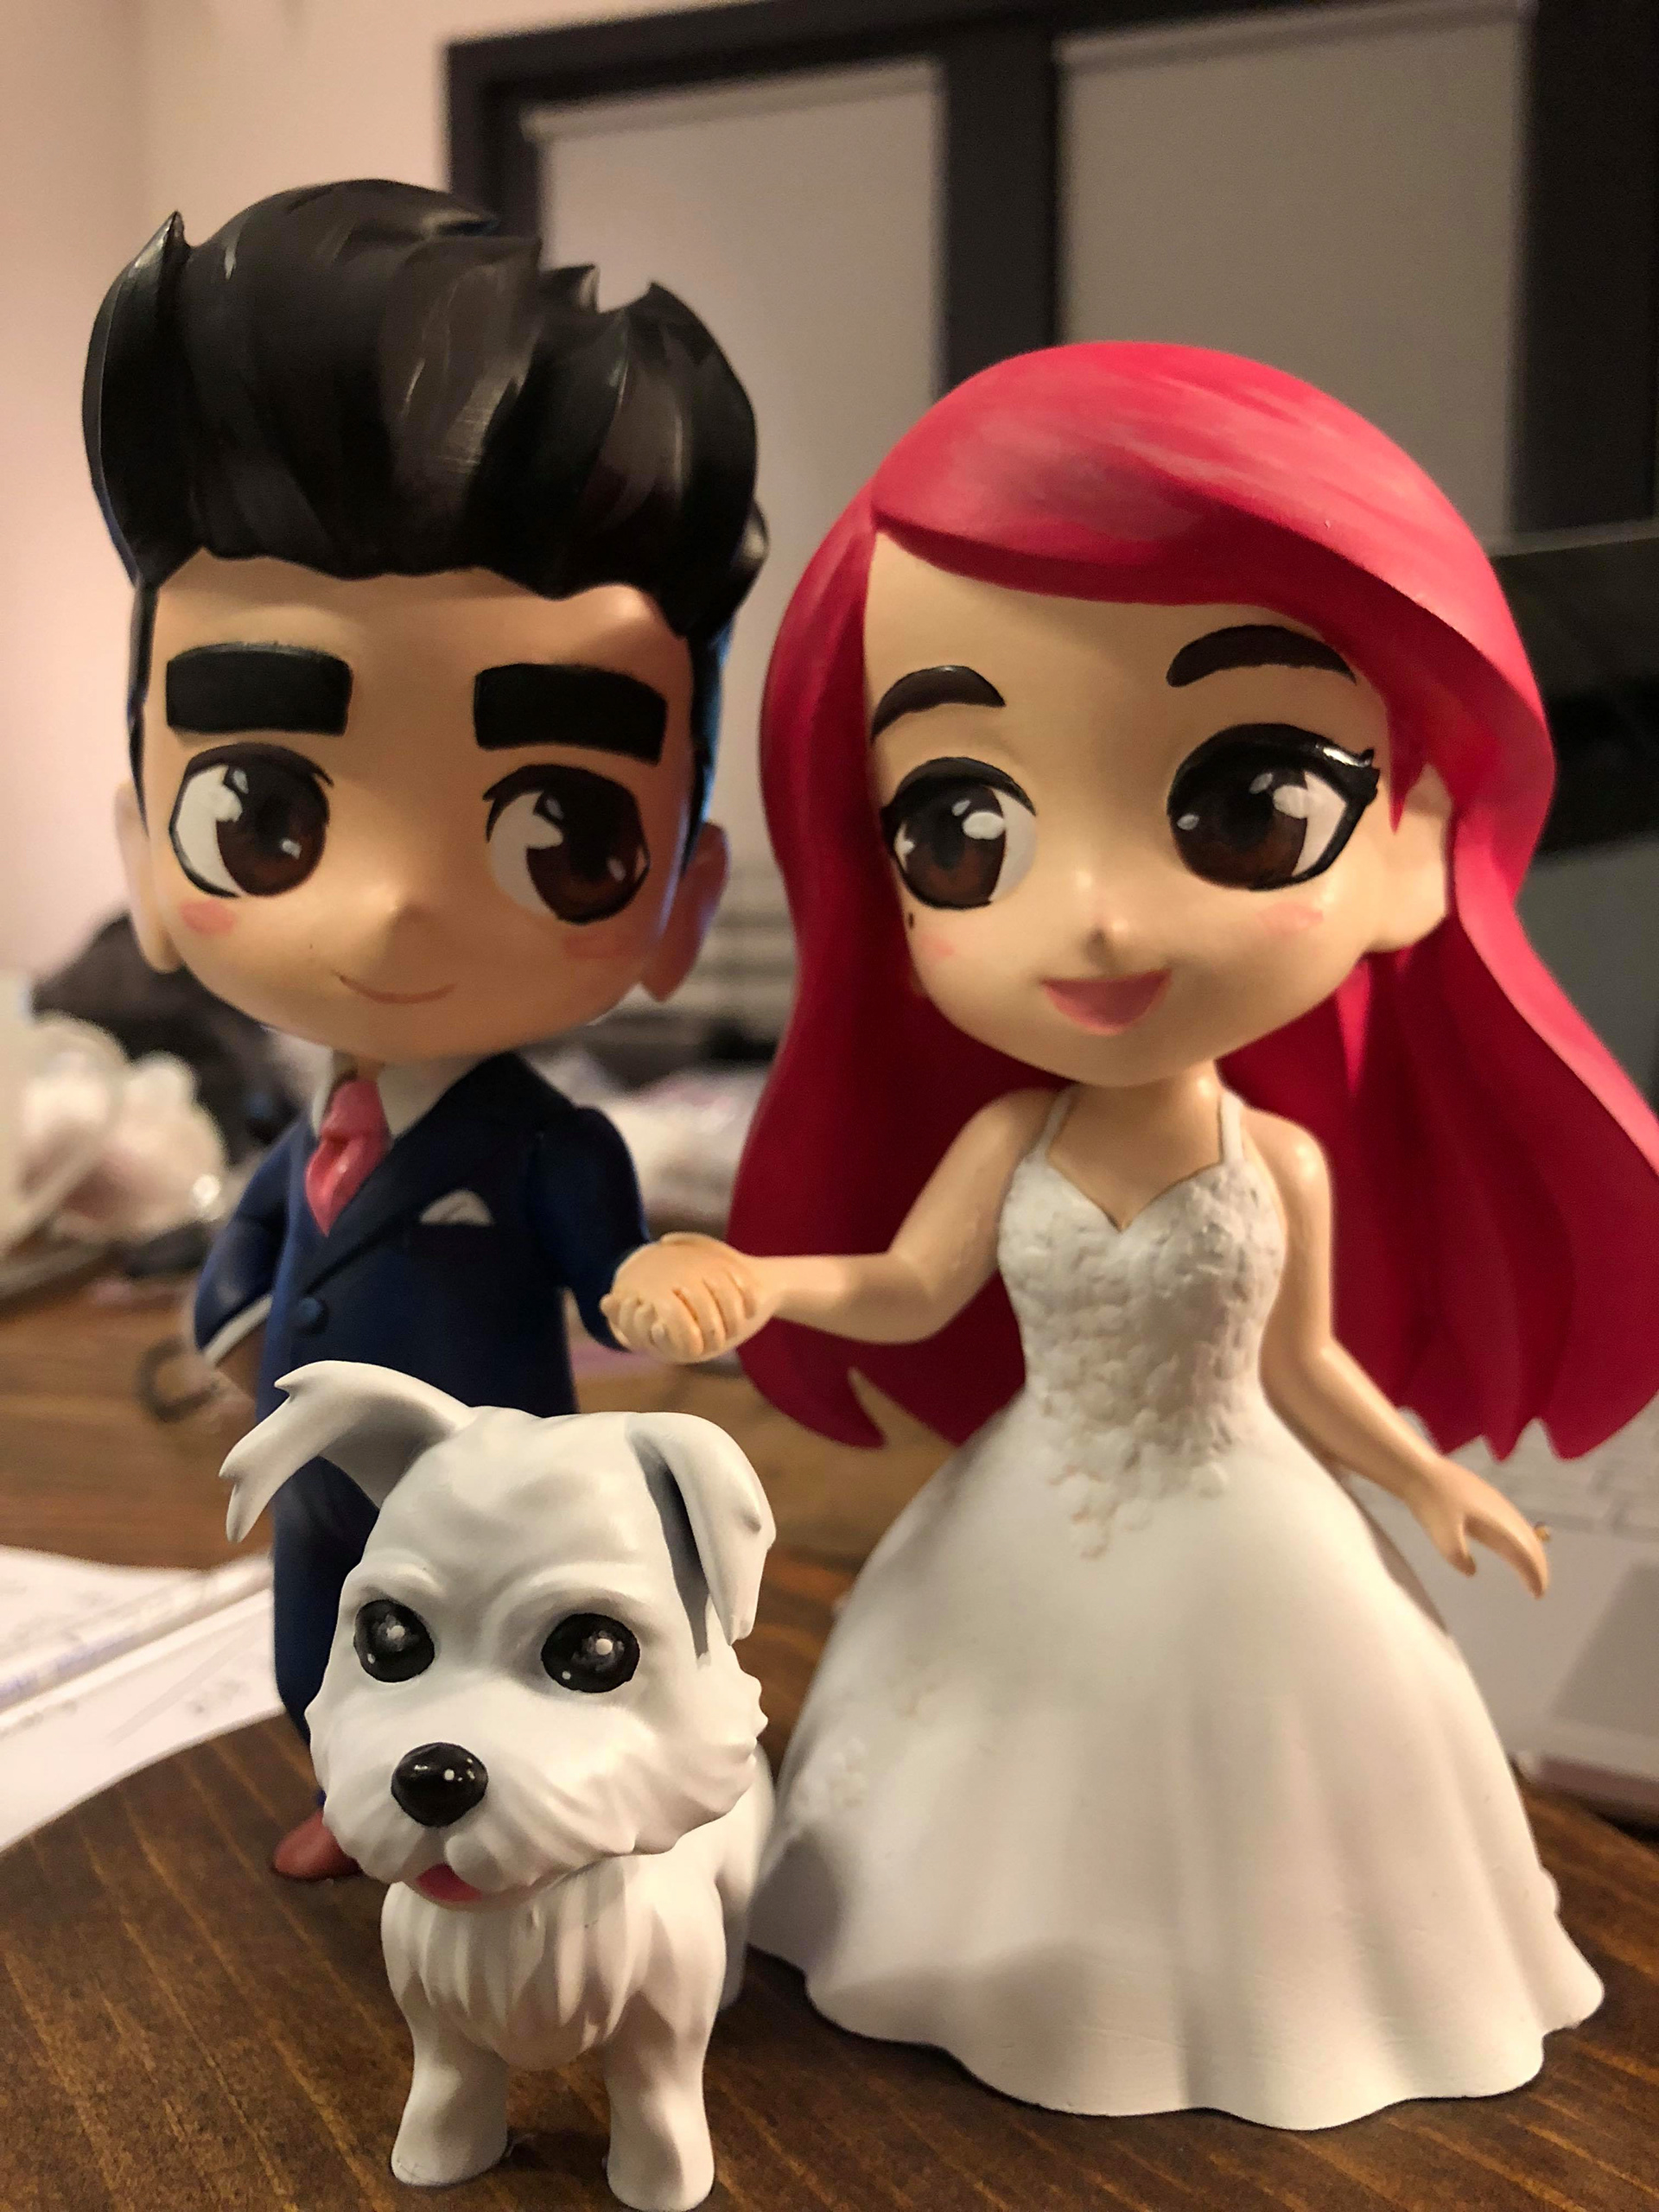
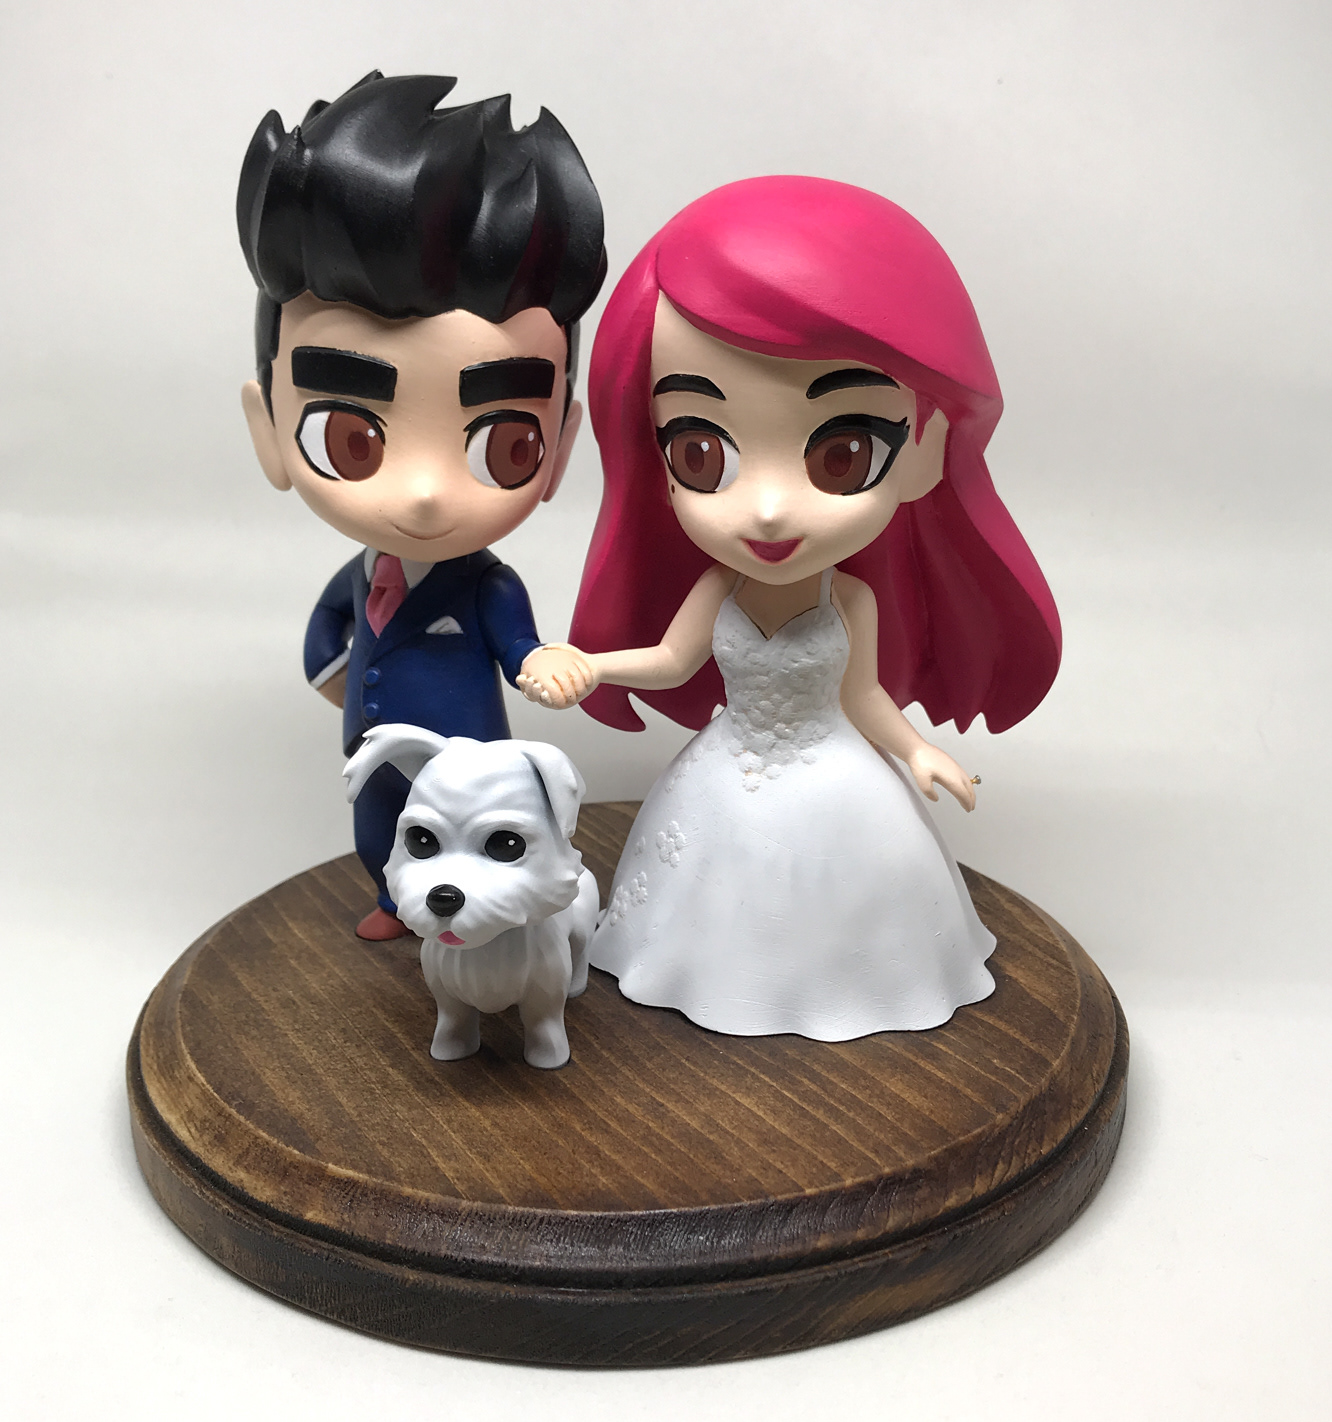
Final cake topper with some further paint tweaks by the client, mostly the eyes and faces. I'm so glad they made it to the venue safe and sound.
Digital Sculpts
First step in the process was to get everything plotted out in 3D. I use Zbrush for my digital sculpting. Once the base layouts were approved, I moved on to cleaning up the sculpts.
I started sending renders at each stage of my cleanup sculpting, but I quickly realized that it would be much easier if the client could turn the model around for himself. So I started sending 3D turnarounds in Marmoset Toolbag which gave him a much better idea of how the sculpt was shaping up. It made corrections much easier for both of us and I'm going to be using this workflow with future clients.
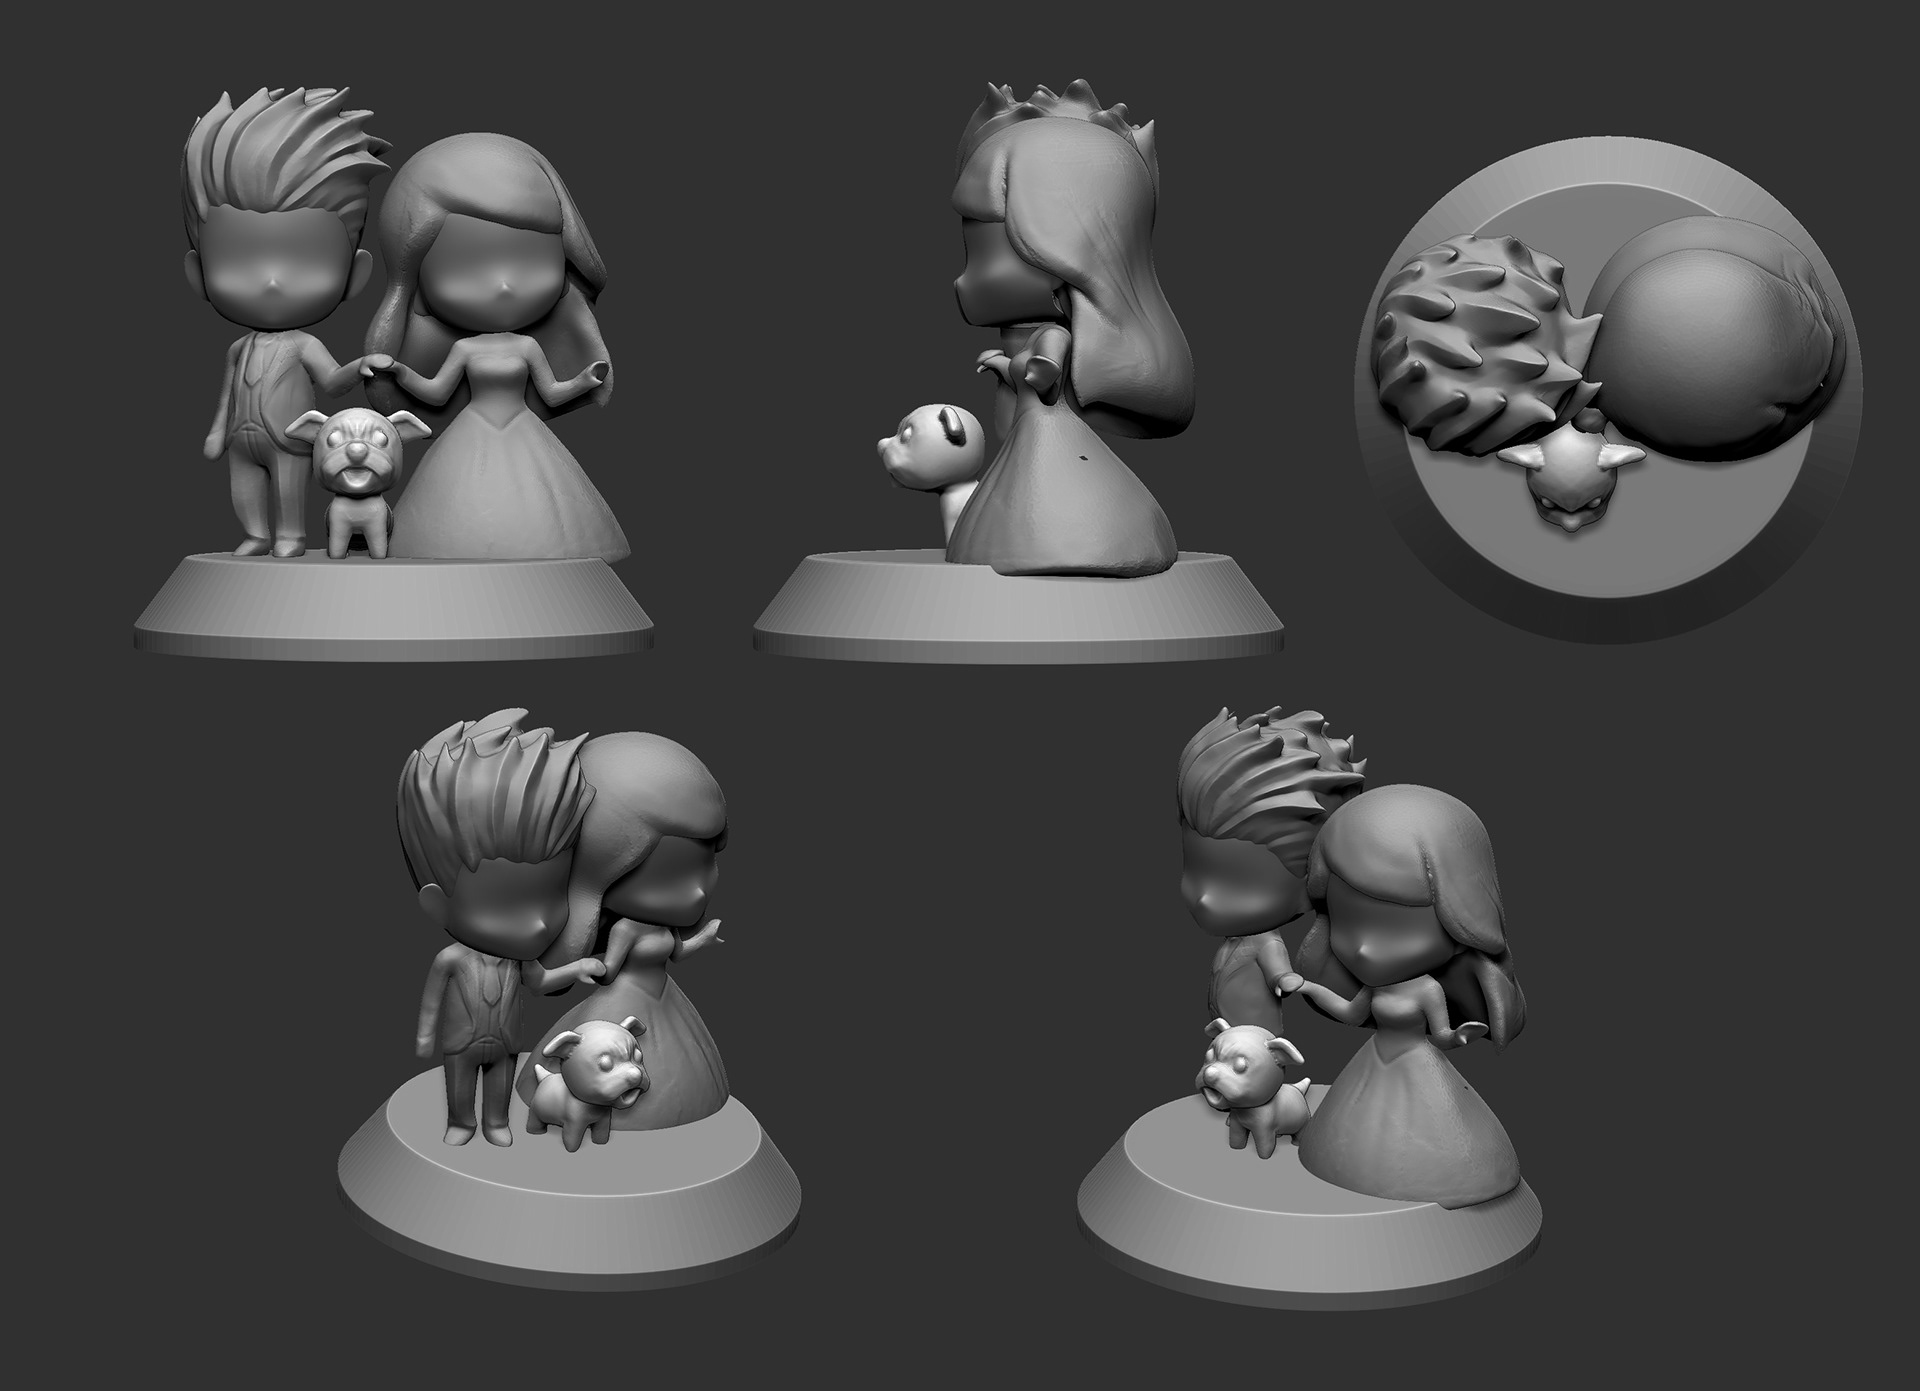
Really quick roughs to get the proportions and positions correct.
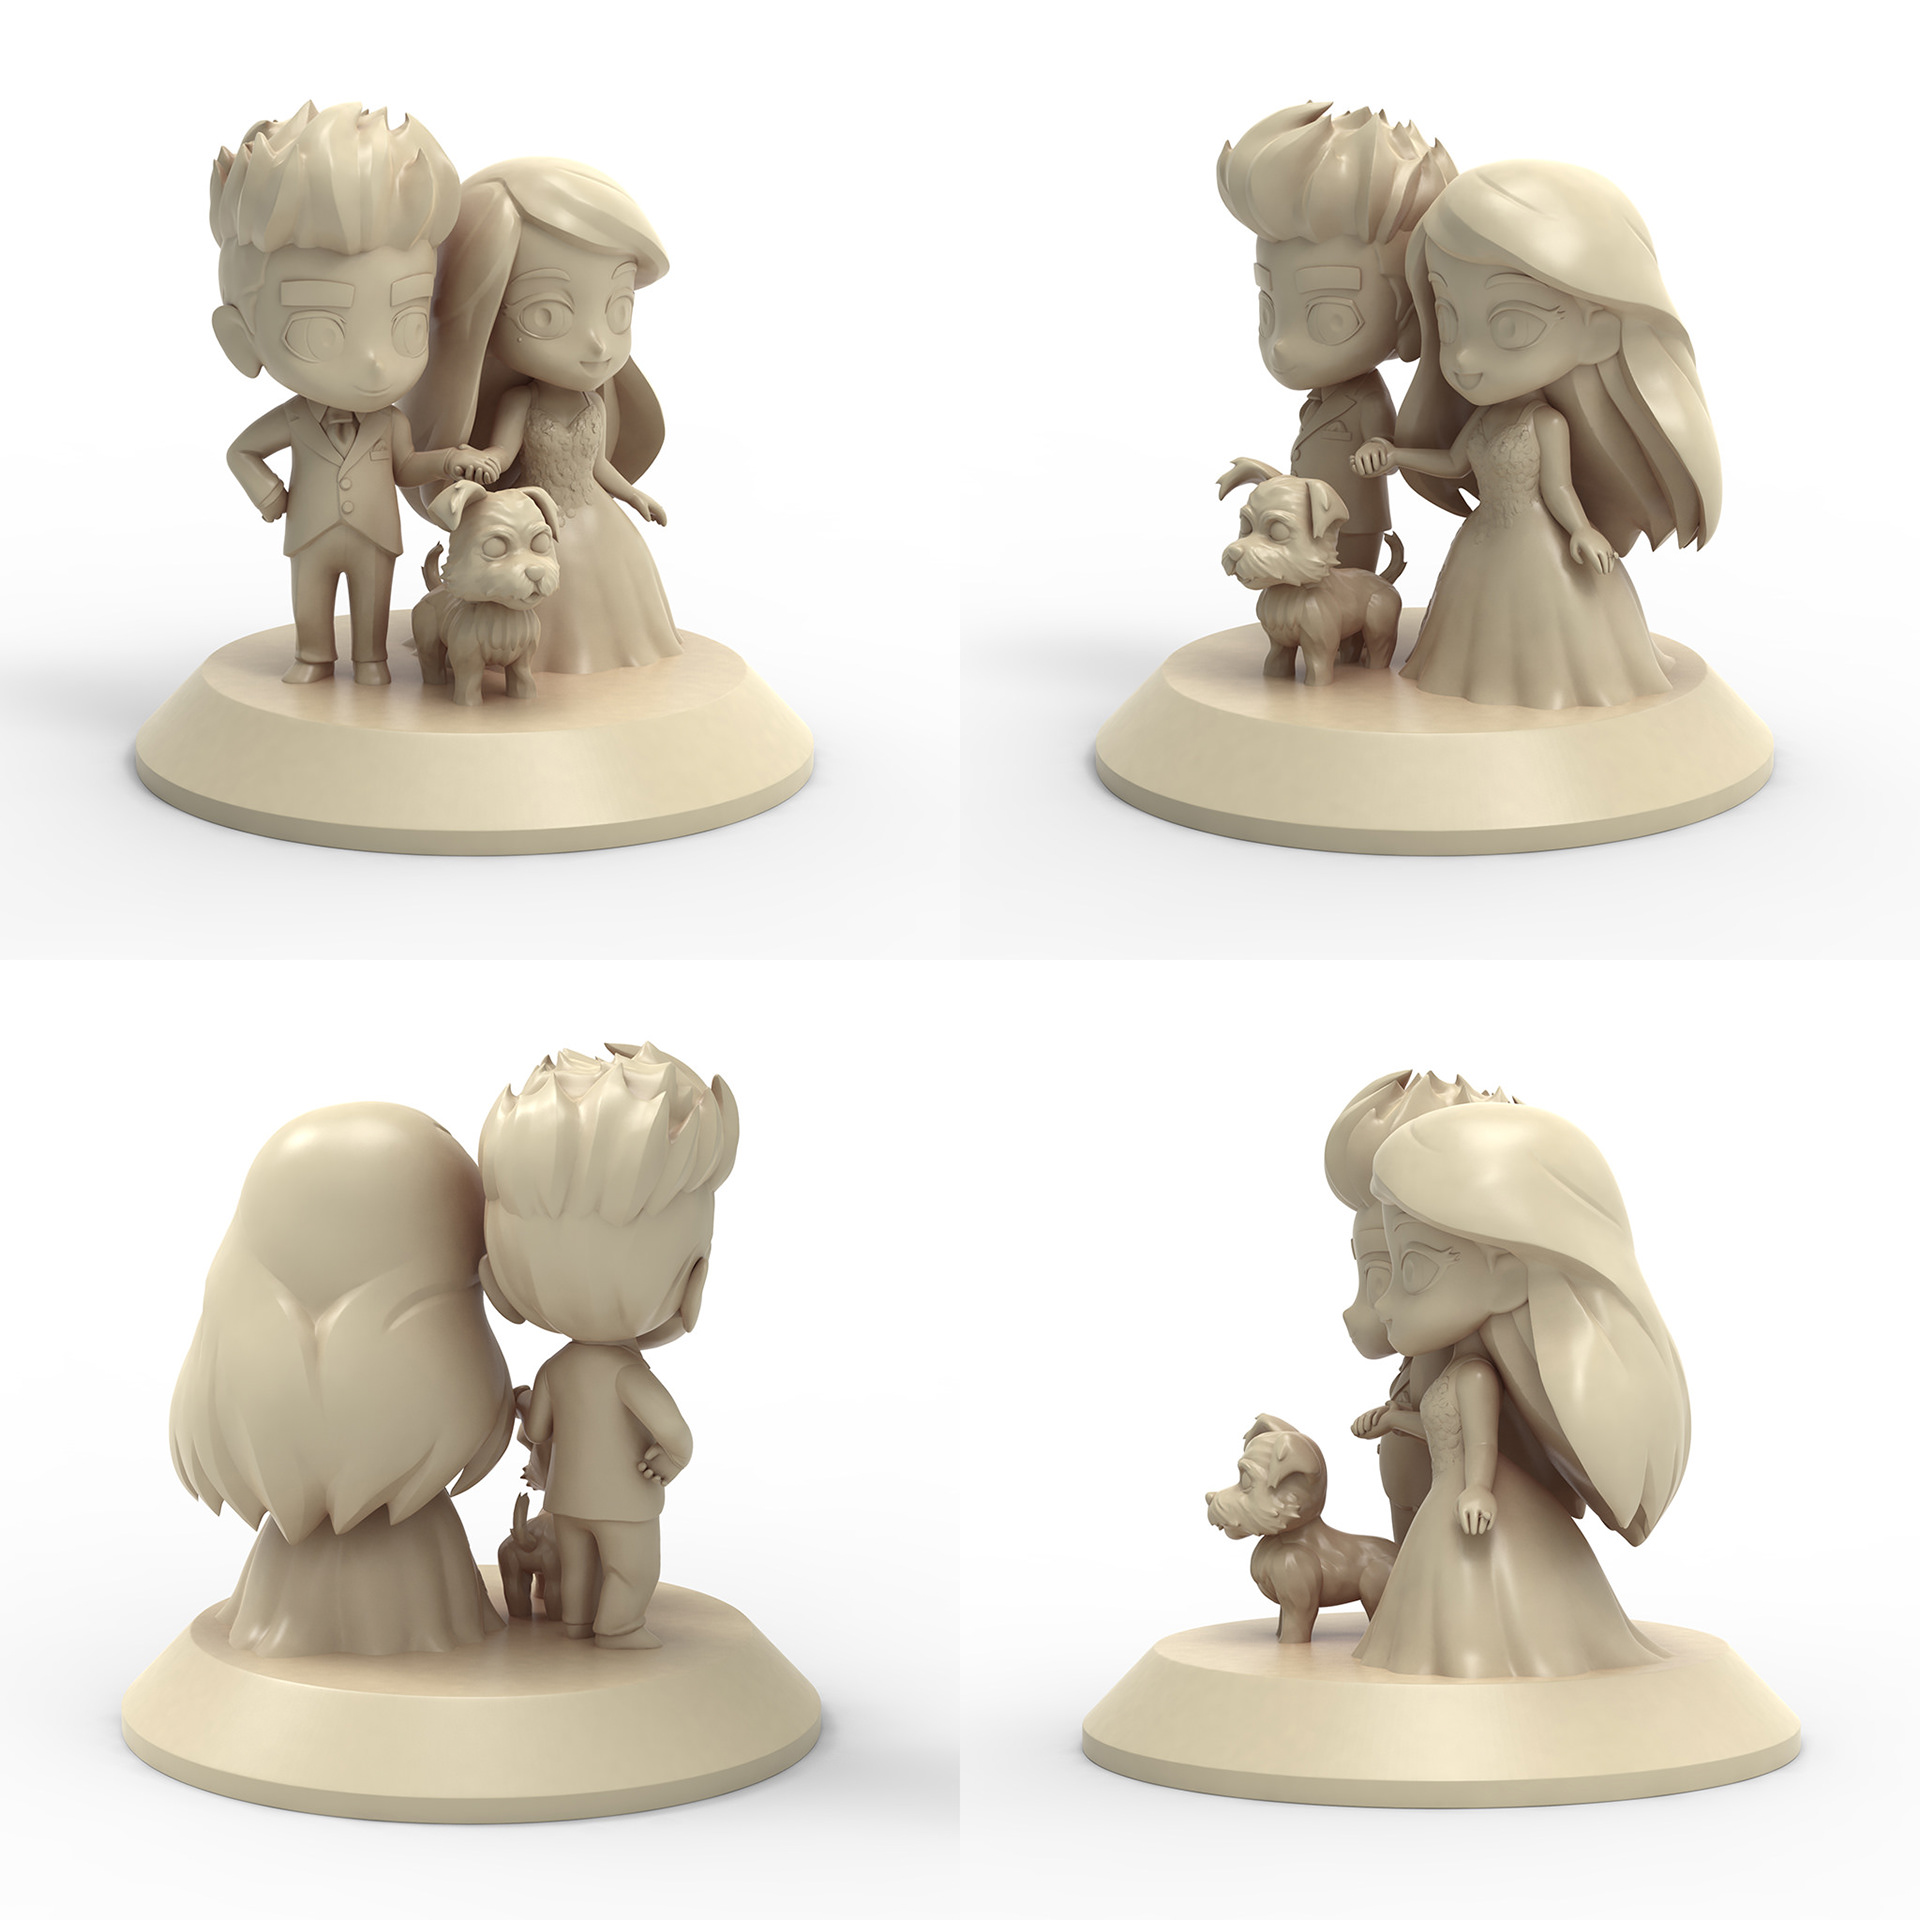
Final sculpt rendered in Keyshot.
Printing, Painting, Wiring
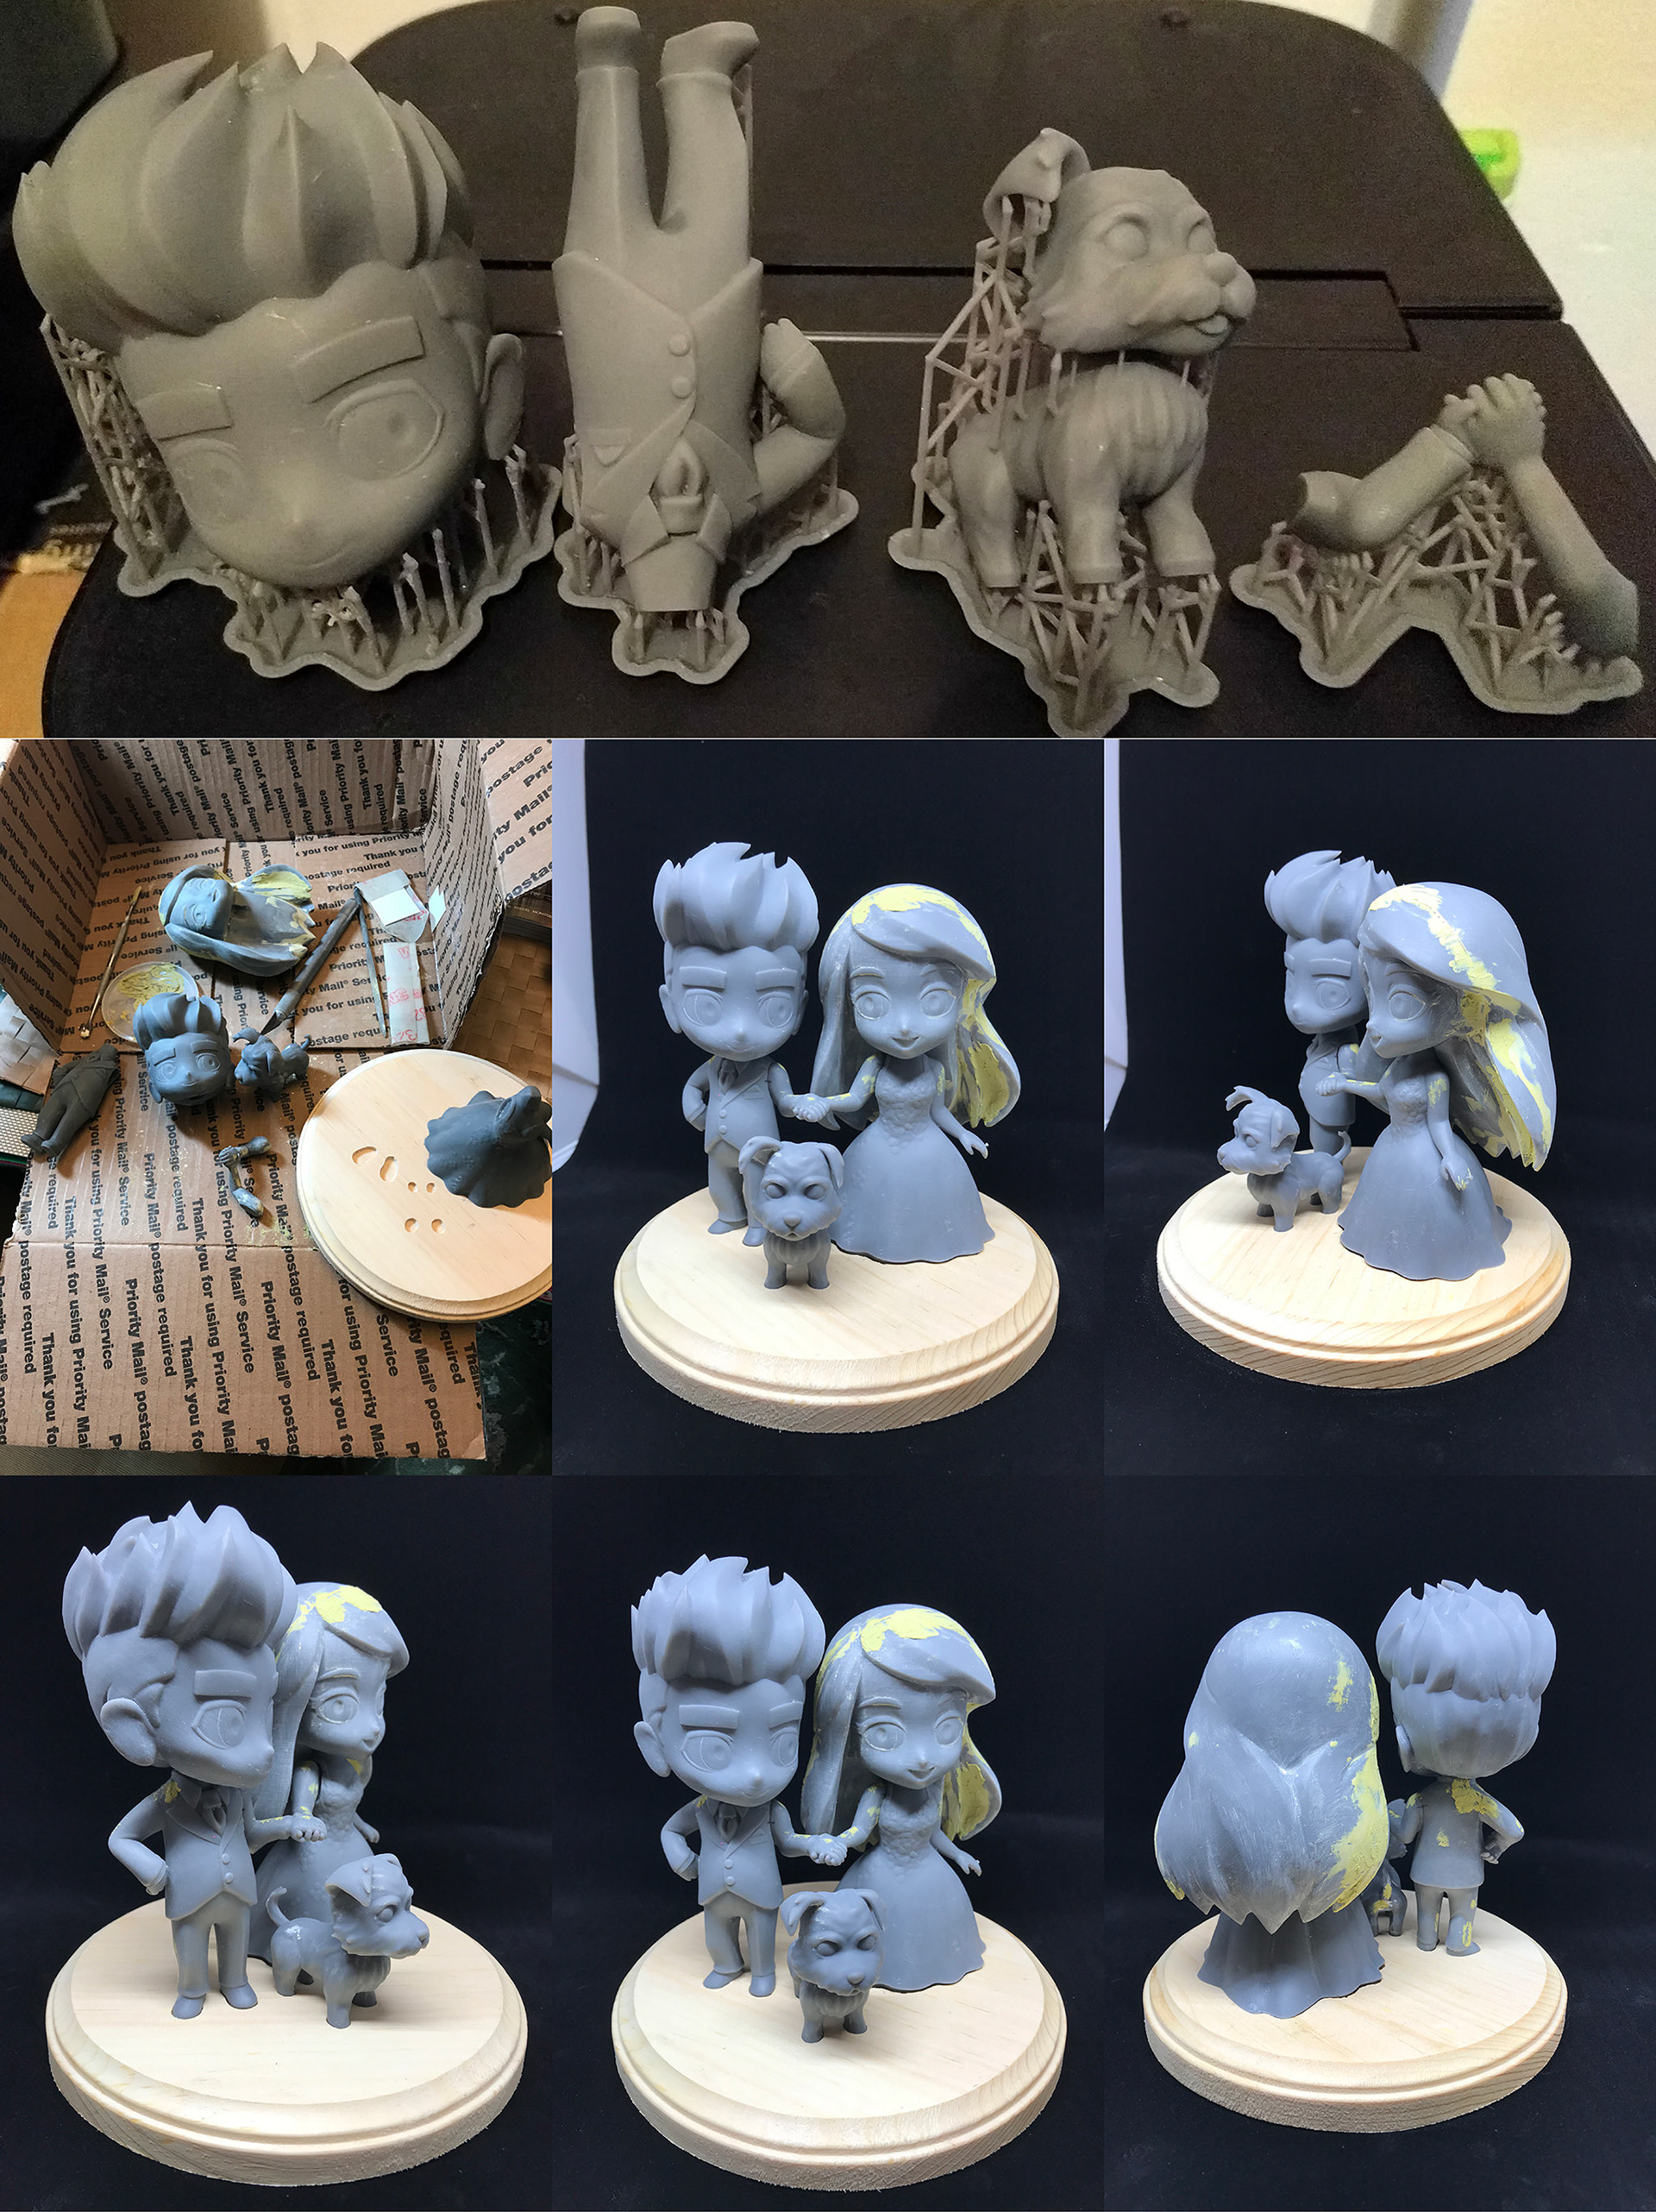
The sculpts were cut into pieces and keyed so that I could more easily paint them and ship them safely. This was the first time I ever keyed anything for production and Zbrush's live booleans were a life saver.
All the bits were printed on a Formlabs Form 2. The cake topper was printed at six inches high while the clear centerpieces were printed at four inches.
The Form 2 is an amazing SLA resin printer that produces extremely high resolution results. Even so, there still was a lot of sanding and finishing to do.
Once everything was cleaned up, I primed the pieces with a fine grain primer and started painting. Lots and lots and lots of layers of acrylic paint. Model Color from Vallejo flattens out really nicely meaning that when it dries, you won't see any brush marks. But you have to use lots of thin layers to achieve the desired color.
Sanding and filling and sanding some more.

Painting and painting and painting.
Final paints before I sent it off to wedding town.
The centerpieces were printed in a clear resin. The base was extended a bit to fit in all the electronics. Each base had three leds, one for each figure.
I never actually got to see these in person so all I've got are these photos. From the look of things, they turned out pretty well. I think we'll be playing with more clear resin projects in the future.
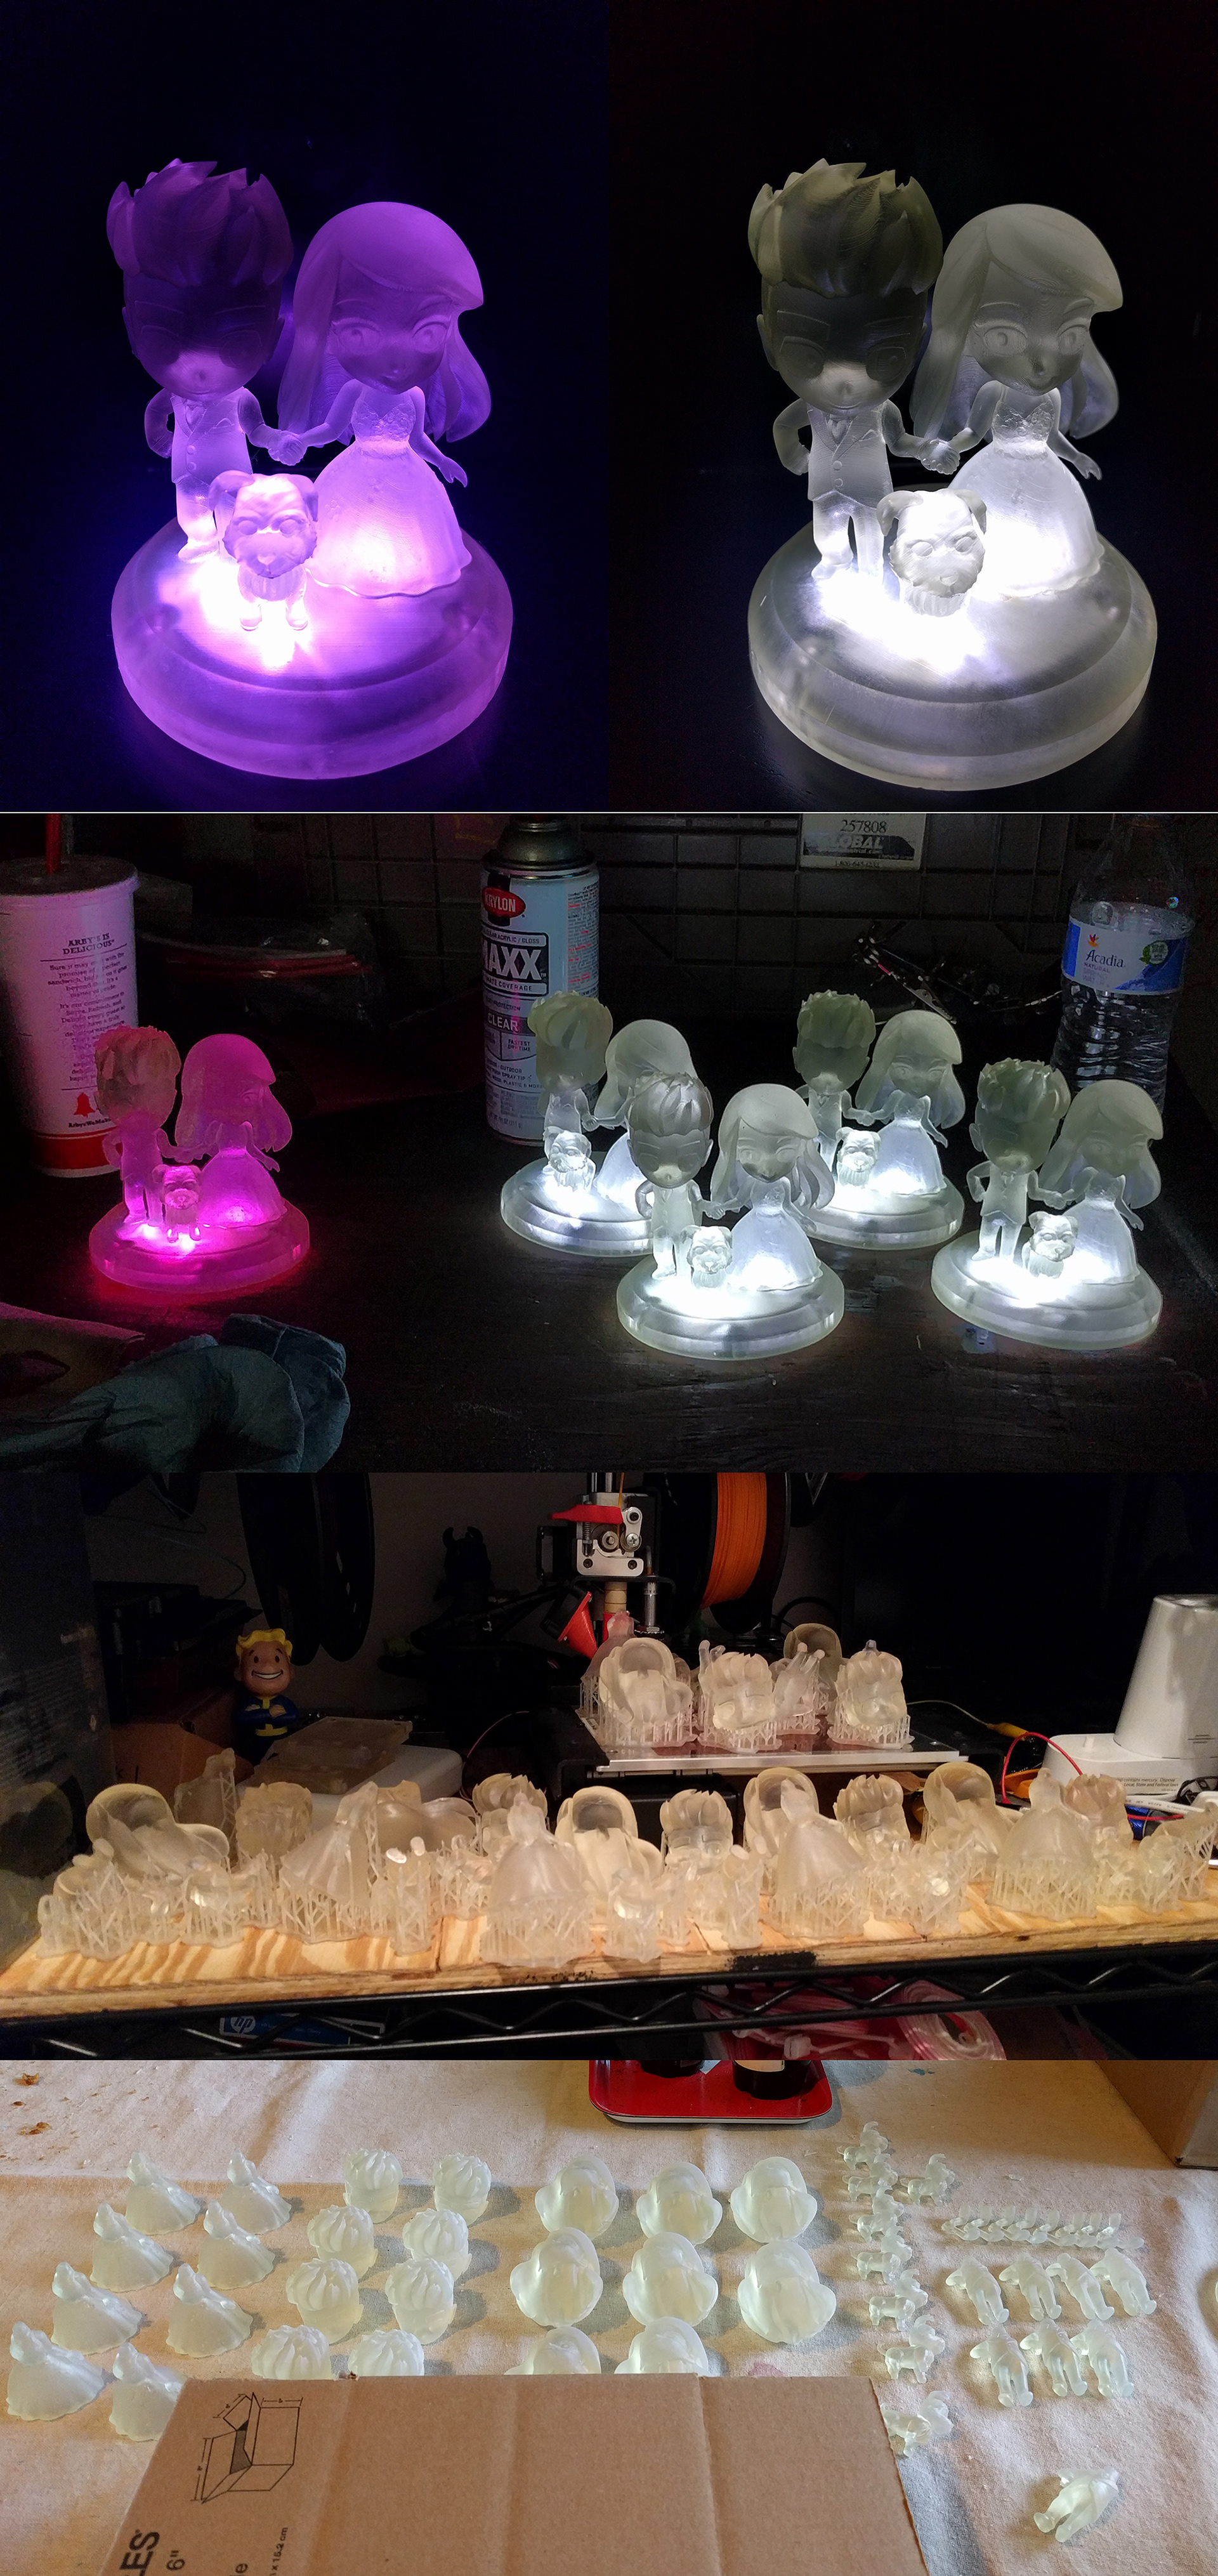
Clear bits ready for LEDs!